Master Blender Sculpting | Every Brush Explained for Beginners
عدد الدروس : 1 عدد ساعات الدورة : 00:43:40 شهادة معتمدة : نعم التسجيل في الدورة للحصول على شهادةللحصول على شهادة
- 1- التسجيل
- 2- مشاهدة الكورس كاملا
- 3- متابعة نسبة اكتمال الكورس تدريجيا
- 4- بعد الانتهاء تظهر الشهادة في الملف الشخصي الخاص بك
قائمة الدروس
عن الدورة
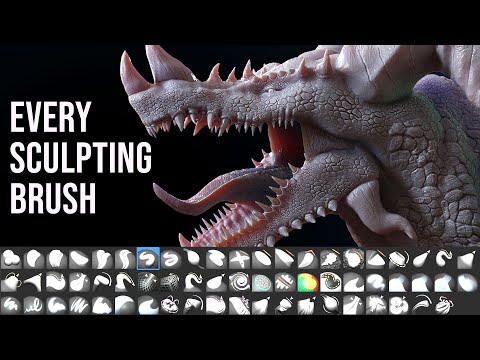
This guide focuses on understanding every major sculpting brush in Blender and how each one contributes to building detailed 3D models. Sculpting is one of the most creative parts of Blender, allowing you to shape digital clay in a natural and intuitive way. Instead of working with vertices directly, you use brushes to push, pull, smooth, and refine your model.
The foundation of sculpting begins with understanding how brushes behave. Each brush in Blender is designed for a specific purpose, and mastering them allows you to control form, detail, and surface quality more effectively. Rather than relying on technical modeling steps, sculpting emphasizes artistic control and fluid shaping.
One of the most important brushes is the grab brush, which is used to move large portions of a model. This is especially useful during the early blockout stage when you are defining overall proportions and silhouette. It helps establish the basic structure before adding finer detail.
The smooth brush is another essential tool used to remove imperfections and even out surfaces. It is commonly used throughout the sculpting process to refine shapes and maintain clean forms. Without smoothing, models can become messy or overly noisy.
The inflate and deflate brushes allow you to push geometry outward or inward, which is useful for building volume and adding subtle form changes. These brushes help create natural-looking transitions in areas like muscles, facial features, or organic shapes.
You also learn about carving and crease-style brushes that help define sharp details and structure. These are important when adding wrinkles, edges, or stylized cuts to a model. They give the sculpt more definition and clarity.


