Blender Outliner & Basic Modeling | Snowball Project for Beginners (Part 3)
عدد الدروس : 1 عدد ساعات الدورة : 00:41:48 شهادة معتمدة : نعم التسجيل في الدورة للحصول على شهادةللحصول على شهادة
- 1- التسجيل
- 2- مشاهدة الكورس كاملا
- 3- متابعة نسبة اكتمال الكورس تدريجيا
- 4- بعد الانتهاء تظهر الشهادة في الملف الشخصي الخاص بك
قائمة الدروس
عن الدورة
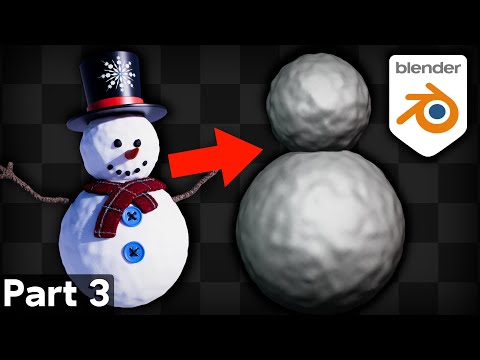
This third part of the Blender beginner tutorial series introduces the Outliner in more depth and begins practical modeling through a simple snowball project. The goal is to combine scene organization skills with basic mesh editing to build your first structured 3D model setup.
The lesson starts with the Outliner, a key organizational tool in Blender. The Outliner displays every object in your scene in a hierarchical list, making it easy to select, rename, hide, and manage objects. As scenes become more complex, the Outliner becomes essential for keeping everything organized and avoiding confusion.
You learn how to properly name objects, which is a critical habit in any 3D workflow. Clear naming helps you quickly identify elements like the snowball base, ground, or additional props. This becomes especially important in larger projects where multiple objects are involved.
The tutorial then moves into basic modeling by creating a simple snowball scene. You begin with a primitive shape, typically a sphere, which serves as the base object. From there, you start modifying its form to resemble a snowball using scaling and proportional adjustments.
Basic transformation tools are reinforced, including move, rotate, and scale. These tools are used to position the snowball and adjust its size within the scene. Proper use of transforms ensures that objects maintain correct proportions and placement.
The lesson also introduces simple mesh editing techniques. By entering Edit Mode, you can adjust vertices to slightly deform the sphere, making it look more natural and less perfectly geometric. This helps create a more organic and realistic snowball shape.
Scene composition is also briefly covered. Placing the snowball in a simple environment helps you understand how objects relate to each other in space. Even a basic setup improves your understanding of scale and positioning.


