Blender Basics for Beginners | Modeling an Aircraft Step by Step (2025 Compatible)
عدد الدروس : 1 عدد ساعات الدورة : 01:21:47 شهادة معتمدة : نعم التسجيل في الدورة للحصول على شهادةللحصول على شهادة
- 1- التسجيل
- 2- مشاهدة الكورس كاملا
- 3- متابعة نسبة اكتمال الكورس تدريجيا
- 4- بعد الانتهاء تظهر الشهادة في الملف الشخصي الخاص بك
قائمة الدروس
عن الدورة
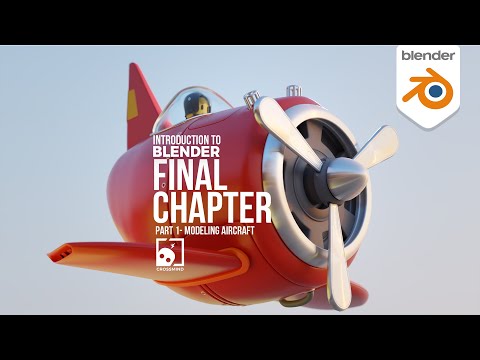
In this stage of the Blender learning journey, you apply the fundamental skills you’ve learned so far to build a complete beginner-friendly project: modeling an aircraft. This exercise helps connect everything from object manipulation, editing tools, modifiers, materials, and lighting into one practical workflow.
The process begins with setting up a simple base shape using basic primitives like cubes and cylinders. These simple shapes form the foundation of the aircraft model. Instead of starting from complex geometry, Blender allows you to build structured models by gradually refining simple objects into more detailed forms.
Using Edit Mode, you begin shaping the body of the aircraft by adjusting vertices, edges, and faces. Tools like extrude, scale, and loop cut are used to create the fuselage, wings, and tail structure. This step helps reinforce your understanding of how 3D objects are constructed from basic geometry.
Modifiers such as Mirror can be used to speed up the process by automatically duplicating symmetrical parts of the aircraft. This ensures consistency and saves time when modeling both sides of the design. Subdivision Surface may also be applied to smooth out the model and improve its overall appearance.
As the model takes shape, attention is given to proportions and structure, ensuring that the aircraft looks balanced and recognizable. This stage is not about creating a highly detailed realistic airplane, but rather about understanding the workflow of building a complete object from start to finish.
Once the modeling is complete, basic materials can be applied to differentiate parts of the aircraft, such as the body, wings, and windows. Simple shading techniques help improve visual clarity and prepare the model for rendering.


